編輯:關於Android編程
首先你得寫好xml文件,這也是最主要的。
然後,在activity中加入一個線程,延時2秒,用來跳轉到主界面。
activity中線程代碼如下:(順便檢測一下網絡是否打開)
[java]
@Override
protected void onStart() {
super.onStart();
if(<SPAN style="COLOR: #ff0000">isNetworkConnected()</SPAN>){
new Thread(){
@Override
public void run() {
try {
Thread.sleep(2000);
Intent intent = new Intent(<SPAN style="COLOR: #ff0000">SplashActivity.this</SPAN>,<SPAN style="COLOR: #ff0000">CompusAssistMain.class</SPAN>);
startActivity(intent);
finish();
} catch (InterruptedException e) {
e.printStackTrace();
}
}
}.start();
}else{
//彈出對話框 讓用戶設置網絡
AlertDialog.Builder builder = new Builder(this);
builder.setTitle("設置網絡");
builder.setMessage("網絡錯誤請設置網絡");
builder.setPositiveButton("設置網絡", new OnClickListener() {
public void onClick(DialogInterface dialog, int which) {
Intent intent = new Intent();
intent.setClassName(<SPAN style="COLOR: #ff6666">"com.android.settings"</SPAN>, <SPAN style="COLOR: #ff6666">"com.android.settings.WirelessSettings"</SPAN>);
startActivity(intent);
}
});
builder.setNegativeButton("取消", new OnClickListener() {
public void onClick(DialogInterface dialog, int which) {
finish();
}
});
builder.create().show();
}
}
@Override
protected void onStart() {
super.onStart();
if(isNetworkConnected()){
new Thread(){
@Override
public void run() {
try {
Thread.sleep(2000);
Intent intent = new Intent(SplashActivity.this,CompusAssistMain.class);
startActivity(intent);
finish();
} catch (InterruptedException e) {
e.printStackTrace();
}
}
}.start();
}else{
//彈出對話框 讓用戶設置網絡
AlertDialog.Builder builder = new Builder(this);
builder.setTitle("設置網絡");
builder.setMessage("網絡錯誤請設置網絡");
builder.setPositiveButton("設置網絡", new OnClickListener() {
public void onClick(DialogInterface dialog, int which) {
Intent intent = new Intent();
intent.setClassName("com.android.settings", "com.android.settings.WirelessSettings");
startActivity(intent);
}
});
builder.setNegativeButton("取消", new OnClickListener() {
public void onClick(DialogInterface dialog, int which) {
finish();
}
});
builder.create().show();
}
}檢測網絡的類isNetWorkConnected():
[java]
<SPAN style="WHITE-SPACE: pre"> </SPAN>/**
* 判斷系統的網絡是否可用
* @return
*/
private boolean isNetworkConnected(){
ConnectivityManager cm = (ConnectivityManager) getSystemService(CONNECTIVITY_SERVICE);
NetworkInfo info =cm.getActiveNetworkInfo();
if(info!=null&&info.isConnected()){
return true;
}else {
return false ;
}
/**
* 判斷系統的網絡是否可用
* @return
*/
private boolean isNetworkConnected(){
ConnectivityManager cm = (ConnectivityManager) getSystemService(CONNECTIVITY_SERVICE);
NetworkInfo info =cm.getActiveNetworkInfo();
if(info!=null&&info.isConnected()){
return true;
}else {
return false ;
}
這樣就完成了一個歡迎界面,給自已的應用加點色彩。當然還要添加配置在Manifest文件中
[html]
<activity
android:name="com.yan.compusassist.SplashActivity"
android:label="@string/application_name" >
<intent-filter>
<action android:name="android.intent.action.MAIN" />
<category android:name="android.intent.category.LAUNCHER" />
</intent-filter>
</activity>
<activity
android:name="com.yan.compusassist.SplashActivity"
android:label="@string/application_name" >
<intent-filter>
<action android:name="android.intent.action.MAIN" />
<category android:name="android.intent.category.LAUNCHER" />
</intent-filter>
</activity>這樣它就會打開應用,啟動第一個activity 界面。
 Android NDK開發初步
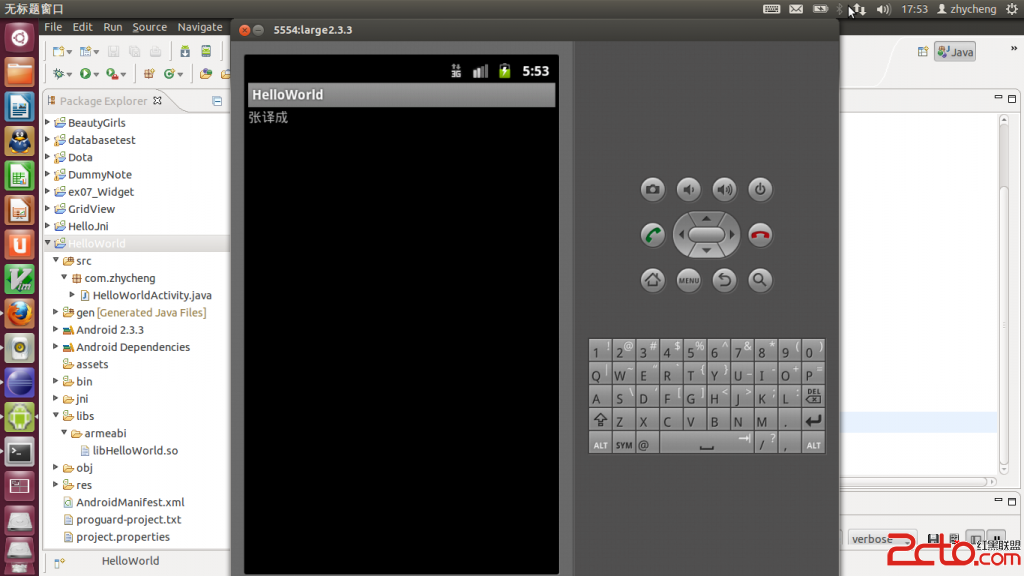
在配置好NDK開發之後就可以使用C/C++開發android了。下面以一個HelloWorld項目來說明1.新建一個Android工程新建一個HelloWorld工程代碼
 【FastDev4Android框架開發】RecyclerView完全解析之打造新版類Gallery效果(二十九)
(一).前言: 話說RecyclerView已經面市很久,也在很多應用中得到廣泛的使用,在整個開發者圈子裡面也擁有很不錯的口碑,那說明RecyclerVi
 Android 實現自己的LOG信息
在程序開發過程中,LOG是廣泛使用的用來記錄程序執行過程的機制,它既可以用於程序調試,也可以用於
 Android自定義View過程解析
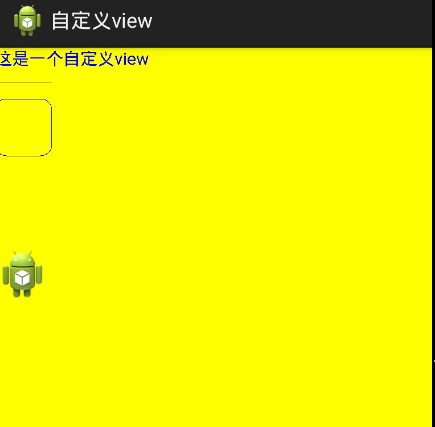
Android自定義的view,主要是繼承view,然後實現ondraw這個方法,來進行繪制。 1. 編寫自己的自定義view 2. 加入邏輯線程 3