編輯:關於Android編程
Add permission:
[html]
<uses-permission android:name="com.android.launcher.permission.INSTALL_SHORTCUT"/>
<uses-permission android:name="com.android.launcher.permission.UNINSTALL_SHORTCUT"/>
<uses-permission android:name="com.android.launcher.permission.INSTALL_SHORTCUT"/>
<uses-permission android:name="com.android.launcher.permission.UNINSTALL_SHORTCUT"/>
Code:
[java]
private void setUpShortCut() {
Intent intent = new Intent(CREATE_SHORTCUT_ACTION);
// 設置快捷方式圖片
intent.putExtra(Intent.EXTRA_SHORTCUT_ICON_RESOURCE,Intent.ShortcutIconResource.fromContext(this, R.drawable.logo));
// 設置快捷方式名稱
intent.putExtra(Intent.EXTRA_SHORTCUT_NAME, "sina");
// 設置是否允許重復創建快捷方式 false表示不允許
intent.putExtra("duplicate", false);
// 設置快捷方式要打開的intent
// 第一種方法創建快捷方式要打開的目標intent
Intent targetIntent = new Intent();
// 設置應用程序卸載時同時也刪除桌面快捷方式
targetIntent.setAction(Intent.ACTION_MAIN);
targetIntent.addCategory("android.intent.category.LAUNCHER");
ComponentName componentName = new ComponentName(getPackageName(), this.getClass().getName());
targetIntent.setComponent(componentName);
// 第二種方法創建快捷方式要打開的目標intent
intent.putExtra(Intent.EXTRA_SHORTCUT_INTENT, targetIntent);
// 發送廣播
sendBroadcast(intent);
}
private void tearDownShortCut() {
Intent intent = new Intent(DROP_SHORTCUT_ACTION);
// 指定要刪除的shortcut名稱
intent.putExtra(Intent.EXTRA_SHORTCUT_NAME, "sina");
String appClass = getPackageName() + "." + this.getLocalClassName();
ComponentName component = new ComponentName(getPackageName(), appClass);
intent.putExtra(Intent.EXTRA_SHORTCUT_INTENT,new Intent().setAction(Intent.ACTION_MAIN).setComponent(component));
sendBroadcast(intent);
}
Or:
[java]
if (Intent.ACTION_CREATE_SHORTCUT.equals(action))
{
setupShortcut();
finish();
return;
}
...
private void setupShortcut() {
// First, set up the shortcut intent.
//For this example, we simply create an intent that
// will bring us directly back to this activity.
//A more typical implementation would use a
// data Uri in order to display a more specific result,
//or a custom action in order to
// launch a specific operation.
Intent shortcutIntent = new Intent(Intent.ACTION_MAIN);
shortcutIntent.setClassName(this, this.getClass().getName());
shortcutIntent.putExtra(EXTRA_KEY, "ApiDemos Provided This Shortcut");
// Then, set up the container intent (the response to the caller)
Intent intent = new Intent();
intent.putExtra(Intent.EXTRA_SHORTCUT_INTENT, shortcutIntent);
intent.putExtra(Intent.EXTRA_SHORTCUT_NAME, getString(R.string.shortcut_name));
Parcelable iconResource = Intent.ShortcutIconResource.fromContext(
this, R.drawable.app_sample_code);
intent.putExtra(Intent.EXTRA_SHORTCUT_ICON_RESOURCE, iconResource);
// Now, return the result to the launcher
setResult(RESULT_OK, intent);
}
 Android Cordova 插件開發之創建項目
使用命令行創建項目cordova 創建項目的命令是cordova create 第一個參數 < dir >:項目目錄文件夾的名稱第二個參數< packa
 Android對話框裡面的輸入值獲取不到,空指針異常
寫的一個Android對話框,點擊按鈕獲取EditText裡面的值,這裡一直報空指針異常,研究了很長時間終於解決了。 異常如下: 我原來的代碼://更新對
 詳解代理模式
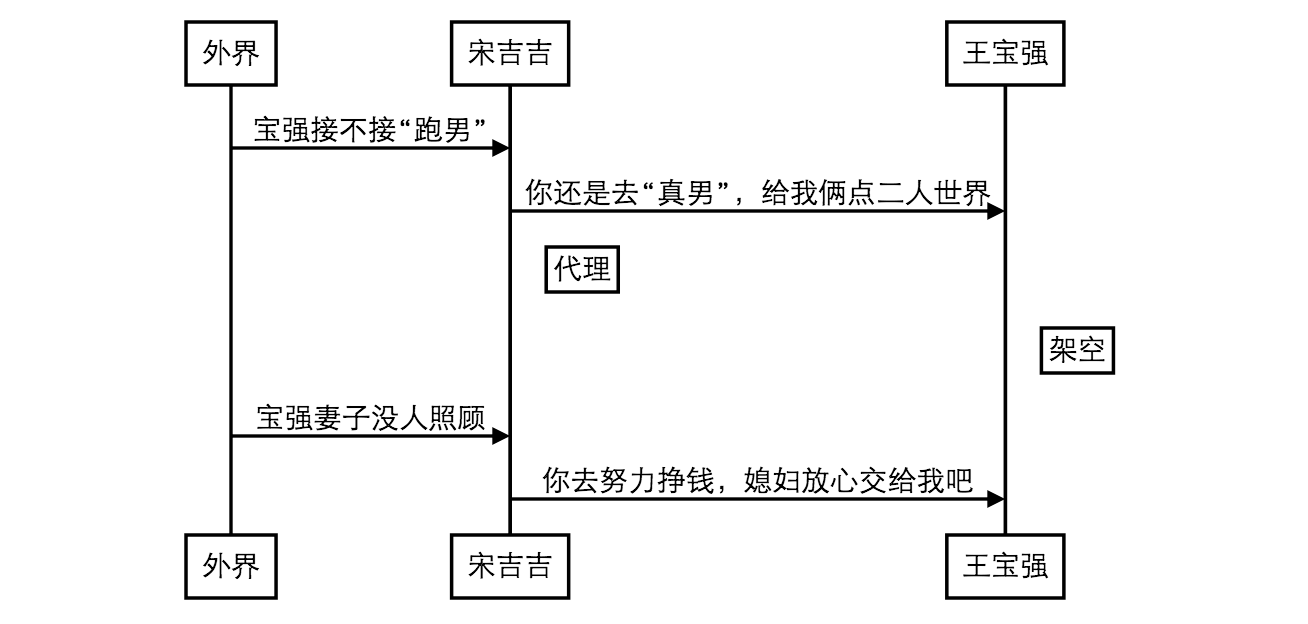
一 摘要晚上看了關於代理模式的一篇文章,寫的非常生動,來過來分享給大家.這裡我就PHP代理模式給大家進行詳細說明.下面我們來看一看這幾天王寶強妻子出軌經紀人事件惹盡了眼球
 Android控件系列之Button以及Android監聽器使用介紹
學習目的: 1、掌握在Android中如何建立Button 2、掌握Button的常用屬性 3、掌握Button按鈕的點擊事件(監聽器) Button是各種UI中最常用的