編輯:關於Android編程
MainActivity
[java]
package com.demo.tabfragmenttest;
import android.R.anim;
import android.content.Intent;
import android.os.Bundle;
import android.view.Menu;
import android.view.MenuItem;
import android.widget.TabHost;
import android.support.v4.app.FragmentActivity;
import android.support.v4.app.NavUtils;
public class MainActivity extends FragmentActivity {
@Override
public void onCreate(Bundle savedInstanceState) {
super.onCreate(savedInstanceState);
setContentView(R.layout.activity_main);
TabHost tabHost = (TabHost) findViewById(android.R.id.tabhost);
tabHost.setup();
tabHost.addTab(tabHost.newTabSpec("tab1").setIndicator("tab1").setContent(R.id.tab1));
tabHost.addTab(tabHost.newTabSpec("tab2").setIndicator("tab2").setContent(R.id.tab2));
}
@Override
public boolean onCreateOptionsMenu(Menu menu) {
getMenuInflater().inflate(R.menu.activity_main, menu);
return true;
}
}
MainActivity對應的layout-activity_main.xml:
[java
<TabHost xmlns:android="http://schemas.android.com/apk/res/android"
xmlns:tools="http://schemas.android.com/tools"
android:id="@android:id/tabhost"
android:layout_width="match_parent"
android:layout_height="match_parent"
android:layout_alignParentLeft="true"
android:layout_centerVertical="true" >
<LinearLayout
android:layout_width="match_parent"
android:layout_height="match_parent"
android:orientation="vertical" >
<TabWidget
android:id="@android:id/tabs"
android:layout_width="match_parent"
android:layout_height="wrap_content" >
</TabWidget>
<FrameLayout
android:id="@android:id/tabcontent"
android:layout_width="match_parent"
android:layout_height="match_parent" >
<fragment android:name="com.demo.tabfragmenttest.Tab1Fragment"
android:id="@+id/tab1"
android:layout_width="match_parent"
android:layout_height="match_parent"/>
<fragment android:name="com.demo.tabfragmenttest.Tab2Fragment"
android:id="@+id/tab2"
android:layout_width="match_parent"
android:layout_height="match_parent"/>
</FrameLayout>
</LinearLayout>
</TabHost>
當然,另外你需要建立兩個Fragment:Tab1Fragment及Tab2Fragment,這裡就省略
 Android重寫View並自定義屬性實例分析
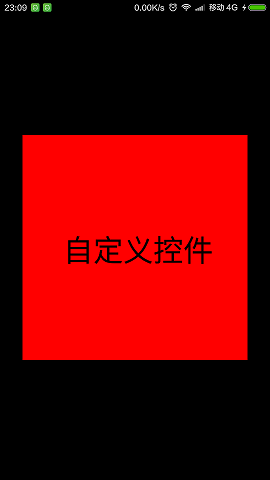
本文實例分析了Android重寫View並自定義屬性的方法。分享給大家供大家參考,具體如下:這裡通過自定義屬性 實現如下圖所示效果:第一步:在res\values的目錄下
 Android廣播接實現監聽電話狀態(電話的狀態,攔截)
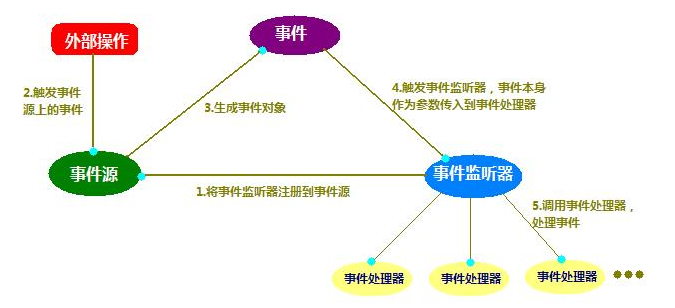
首先我們來理解下監聽器的機制。Android的事件處理機制有兩種:監聽和回調。A基於監聽的事件處理主要涉及三類對象:EventSource(事件源),Event(事件),
 Android開發-DesignDemo-AndroidStudio(九)FloatingActionButton(1)
簡單對比FloatingActionButton和ImageButton的區別:左邊是ImageButton,右邊是FloatingActionButton:activi
 Android之三種Menu的使用與分析
以下說明全部針對Android3.0(Api-11)。本指南將介紹三種基本菜單分別是PartA:操作欄(選項菜單OptionMenu)、PartB:上下文操作模式(Act