編輯:關於Android編程
1. 使用SQLiteDatabase的beginTransaction()方法可以開啟一個事務,程序執行到endTransaction() 方法時會檢查事務的標志是否為成功,如果程序執行到endTransaction()之前調用了setTransactionSuccessful() 方法設置事務的標志為成功則提交事務,如果沒有調用setTransactionSuccessful() 方法則回滾事務。使用例子如下:
SQLiteDatabase db = ....;
db.beginTransaction();//開始事務
try {
db.execSQL("insert into person(name, age) values(?,?)", new Object[]{"傳智播客", 4});
db.execSQL("update person set name=? where personid=?", new Object[]{"傳智", 1});
db.setTransactionSuccessful();//調用此方法會在執行到endTransaction() 時提交當前事務,如果不調用此方法會回滾事務
} finally {
db.endTransaction();//由事務的標志決定是提交事務,還是回滾事務
}
db.close();
上面兩條SQL語句在同一個事務中執行。
2.ListView列表顯示
先在Layout文件夾下創建一個item.xml文件,水平線性布局顯示文件,然後在main.xml文件下引用<ListView/>.
網格顯示跟列表顯示基本上一樣。
有三種方法可以完成操作,分別是下面代碼的show()、show2()、show3(),show3()是自定義的適配器,某些特殊情況下會用到。
代碼如下:
package cn.itcast.db;
import java.util.ArrayList;
import java.util.HashMap;
import java.util.List;
import cn.itcast.adapter.PersonAdapter;
import cn.itcast.domain.Person;
import cn.itcast.service.PersonService;
import android.app.Activity;
import android.database.Cursor;
import android.os.Bundle;
import android.view.View;
import android.widget.AdapterView;
import android.widget.AdapterView.OnItemClickListener;
import android.widget.ListView;
import android.widget.SimpleAdapter;
import android.widget.SimpleCursorAdapter;
import android.widget.Toast;
public class MainActivity extends Activity {
private ListView listView;
private PersonService personService;
@Override
public void onCreate(Bundle savedInstanceState) {
super.onCreate(savedInstanceState);
setContentView(R.layout.main);
personService = new PersonService(this);
listView = (ListView) this.findViewById(R.id.listView);
listView.setOnItemClickListener(new ItemClickListener());
show2();
}
private final class ItemClickListener implements OnItemClickListener{
public void onItemClick(AdapterView<?> parent, View view, int position, long id) {
ListView lView = (ListView)parent;
/* 自定義適配器
Person person = (Person) lView.getItemAtPosition(position);
Toast.makeText(getApplicationContext(), person.getId().toString(), 1).show();*/
Cursor cursor = (Cursor) lView.getItemAtPosition(position);
int personid = cursor.getInt(cursor.getColumnIndex("_id"));
Toast.makeText(getApplicationContext(), personid+ "", 1).show();
}
}
//自定義適配器
private void show3() {
List<Person> persons = personService.getScrollData(0, 20);
PersonAdapter adapter = new PersonAdapter(this, persons, R.layout.item);
listView.setAdapter(adapter);
}
private void show2() {
Cursor cursor = personService.getCursorScrollData(0, 20);
SimpleCursorAdapter adapter = new SimpleCursorAdapter(this, R.layout.item, cursor,
new String[]{"name", "phone", "amount"}, new int[]{R.id.name, R.id.phone, R.id.amount});
listView.setAdapter(adapter);
}
private void show() {
List<Person> persons = personService.getScrollData(0, 20);
List<HashMap<String, Object>> data = new ArrayList<HashMap<String,Object>>();
for(Person person : persons){
HashMap<String, Object> item = new HashMap<String, Object>();
item.put("name", person.getName());
item.put("phone", person.getPhone());
item.put("amount", person.getAmount());
item.put("id", person.getId());
data.add(item);
}
SimpleAdapter adapter = new SimpleAdapter(this, data, R.layout.item,
new String[]{"name", "phone", "amount"}, new int[]{R.id.name, R.id.phone, R.id.amount});
listView.setAdapter(adapter);
}
}
Adapter代碼:
package cn.itcast.adapter;
import java.util.List;
import cn.itcast.db.R;
import cn.itcast.domain.Person;
import android.content.Context;
import android.view.LayoutInflater;
import android.view.View;
import android.view.ViewGroup;
import android.widget.BaseAdapter;
import android.widget.TextView;
public class PersonAdapter extends BaseAdapter {
private List<Person> persons;//在綁定的數據
private int resource;//綁定的條目界面
private LayoutInflater inflater;
public PersonAdapter(Context context, List<Person> persons, int resource) {
this.persons = persons;
this.resource = resource;
inflater = (LayoutInflater) context.getSystemService(Context.LAYOUT_INFLATER_SERVICE);
}
@Override
public int getCount() {
return persons.size();//數據總數
}
@Override
public Object getItem(int position) {
return persons.get(position);
}
@Override
public long getItemId(int position) {
return position;
}
@Override
public View getView(int position, View convertView, ViewGroup parent) {
TextView nameView = null;
TextView phoneView = null;
TextView amountView = null;
if(convertView==null){
convertView = inflater.inflate(resource, null);//生成條目界面對象
nameView = (TextView) convertView.findViewById(R.id.name);
phoneView = (TextView) convertView.findViewById(R.id.phone);
amountView = (TextView) convertView.findViewById(R.id.amount);
ViewCache cache = new ViewCache();
cache.nameView = nameView;
cache.phoneView = phoneView;
cache.amountView = amountView;
convertView.setTag(cache);
}else{
ViewCache cache = (ViewCache) convertView.getTag();
nameView = cache.nameView;
phoneView = cache.phoneView;
amountView = cache.amountView;
}
Person person = persons.get(position);
//下面代碼實現數據綁定
nameView.setText(person.getName());
phoneView.setText(person.getPhone());
amountView.setText(person.getAmount().toString());
return convertView;
}
private final class ViewCache{
public TextView nameView;
public TextView phoneView;
public TextView amountView;
}
}
 android事件分發機制分析
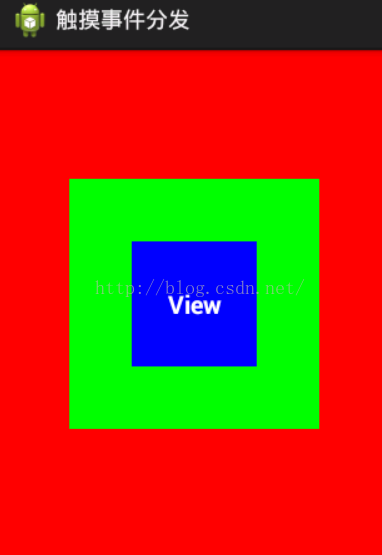
觸摸事件相關方法:ViewGroupdispatchTouchEvent(MotionEvent) 用於分發touch事件onInterceptTouchEvent(Mo
 Android App的運行環境及Android系統架構概覽
Android基於linux內核,面向移動終端的操作系統。主要包括以下幾個方面:Application Framework:這一層為應用開發者提供了豐富的應用編程接口,如
 Android中自定義控件之液位指示器
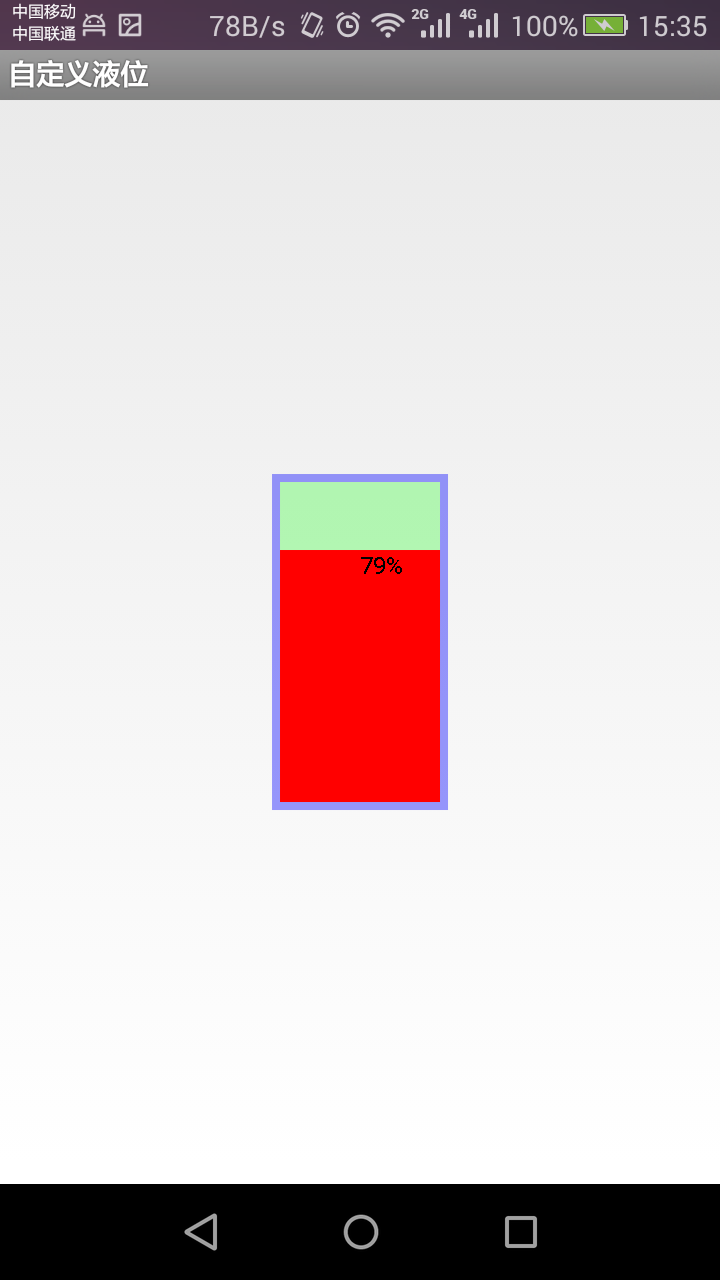
由於安卓應用很廣泛,在工業中也常有一些應用,比如可以用安卓來去工業中的一些數據進行實現的監測,顯示,同時可以做一些自動化控制,當然在這裡,我不是做這些自動化控制方面的研究
 android 系統內置浏覽器——webkit
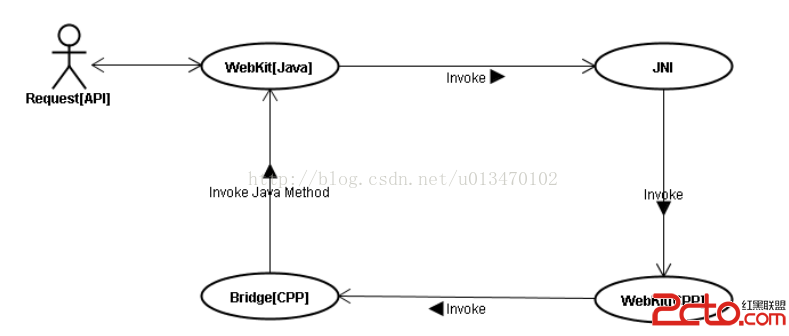
1.webkit架構 1.1 簡介 android平台的Webkit模塊可以分成Java和WebKit庫2個部分。 1.2 Webkit目錄結構 WebKit